Hanging options

Single Hook = SH538 / Double Hook = SH540
Heavy duty stainless steel hooks in single and double configuration. These can be mounted anywhere on the board, giving flexibility to fit more items on the board. Can be used to hang items with hanging holes in them, or to horizontally support items with no hanging hole. In time all hook types will be double bolted and the rivet option will be discontinued.

Single Hook =Safety design = SH542
Safety design – with the prong facing inwards, there is no risk of serious injury if anyone trips and falls against the hook. Also means the tool hangs out from and doesn’t touch the board.

Clip & bolt set (Bulldog clip) = SH546
For hanging items like gloves – Comes as a set with mounting bolt & nut for attaching to the board.

Instructions for riveted/single bolted hooks (Double hook)

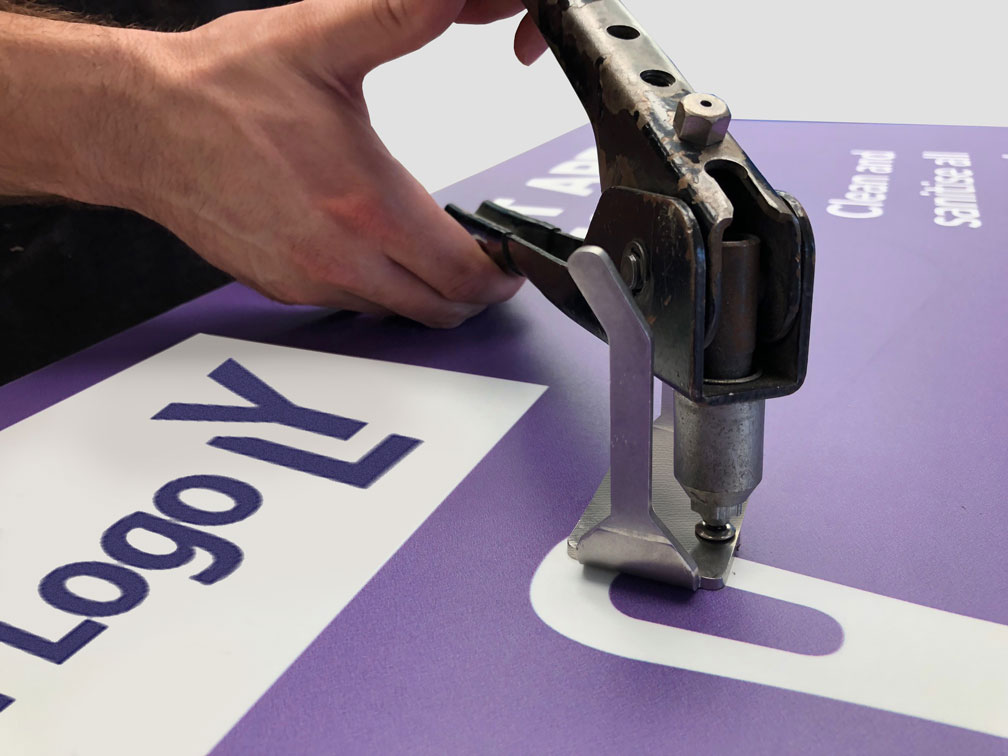
1. Use a 4mm allen key to screw the 8mm bolt from the back of the board.
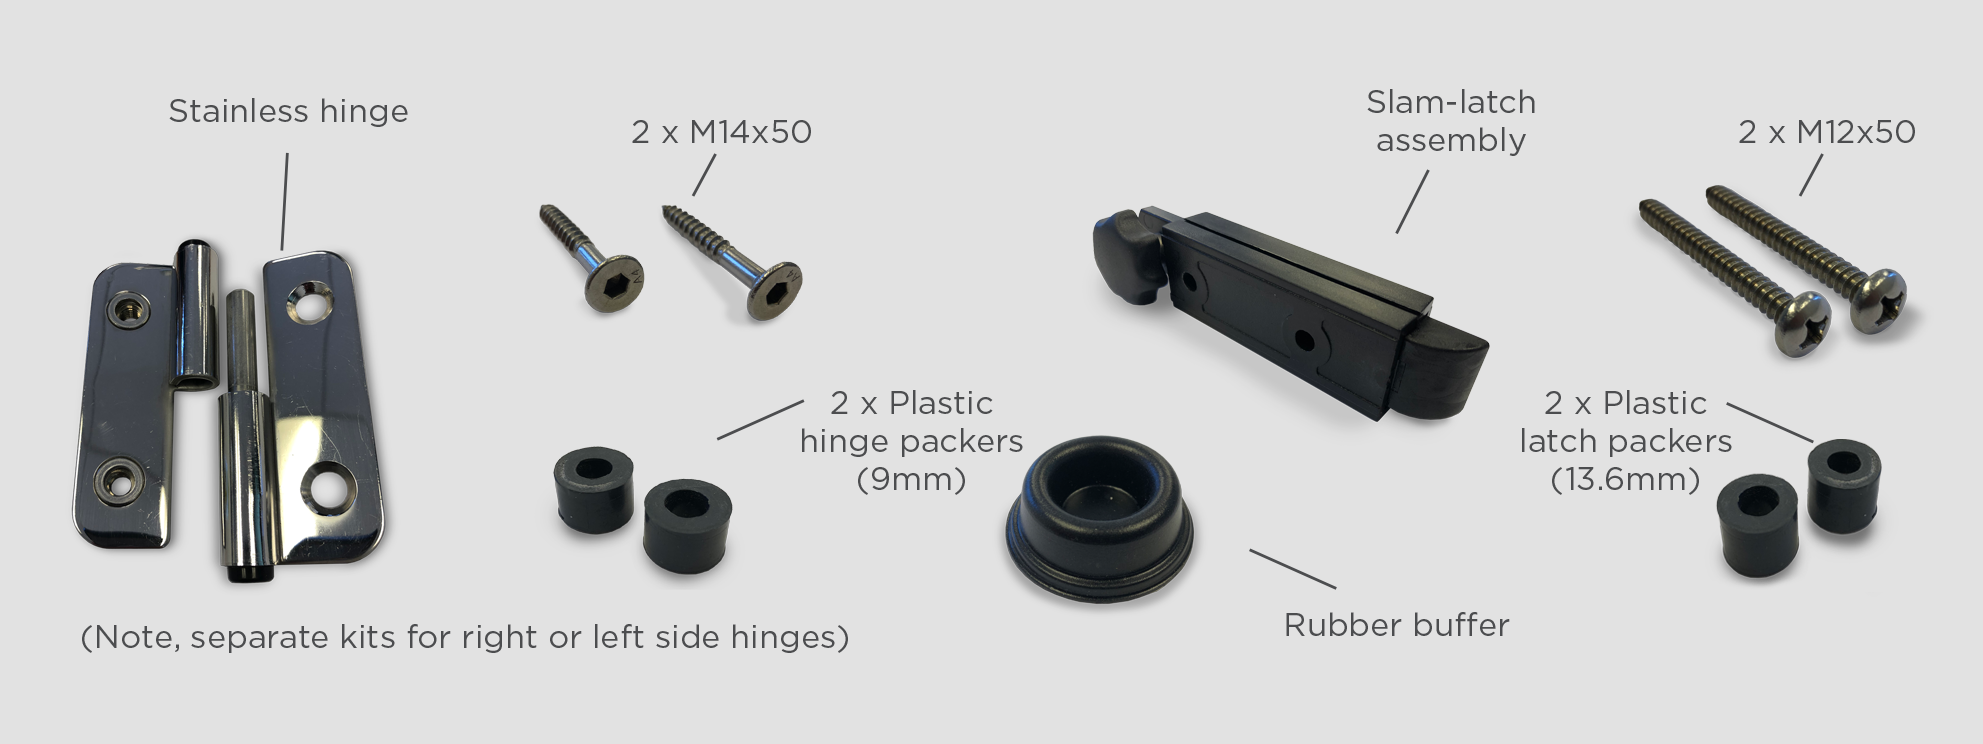
2.Insert the rivet supplied (2.9mm stem) from the front of the board.

Instructions for double bolted hooks (Single hook / Safety hook)

1. Use a 3mm allen key to screw both of the 6mm bolts from the back of the board.

Mounting options

Direct Fix
Lowest cost board and can be mounted to most wall types. A suitable sealant can be placed around the board edge for hygiene purposes if required. Method of mounting board to the wall is decided by customer.

Stand-off
Stainless stand-off mounts that are attached to the wall structure. Can hose water or blow compressed air down behind board to clean, or can be easily removed for manual scrubbing.

Left Hinged or Right Hinged
For high hygiene areas to allow for easy access to clean behind the board.

Trolley
Attached to a custom designed stainless steel trolley or frame with or without swivelling nylon castors.

Instructions for direct fixed boards

1. Mount all hooks to the board before mounting the board to wall.

2. Mark on the board 15mm in from the edge where the mounting bolts or screws will go.

3. Use a centre punch to mark on the front of the board where to drill through for the fixings. Then drill these with the appropriate size bit for the fixings you intend to use.

4. Use a level to mark the top and bottom of where the board will rest against the wall. Affix the board to the wall lining up with the horizontal lines you have made. Some customers prefer to use a flexible food grade silicone to seal around the edges afterwards but this is optional.

Instructions for stand-off boards

What tools/components are required: (note, this task is easiest with two people)
– Drill or screw driver to mount screws, drill bits if required (depends on substrate)
– #8 gauge countersink screws (depending on the substrate you are screwing into, you may also require wall anchors etc)
– Fine tip marker or pencil
– Stainless stand-off mounts supplied with board (each mount has three components as shown here) – separate the three components if not already.

1. Mount all hooks to the board before mounting the board to wall.

2. Position the board where it is destined to go, ensuring you have adequate solid fixing to mount the board to. Use a level to mark the top and bottom of where the board will sit against the wall.

3. With someone holding the board in the desired position, using the marker or pencil, make a mark in each of the small holes around the perimeter of the board.

4. Take the board away from the wall and then affix the brass threaded bases with the #8 gauge screws onto the marks you have made.

5. Now screw the stainless barrels onto the brass threaded bases, ensuring these are sitting flat against the wall.

6. With someone holding the board in the desired position, screw the stainless end cap bolts through the board and into the stainless barrel to secure the board in place.

Instructions for hinged boards

Please do NOT use the hinged style of shadow board when mounting to sandwich or freezer panel walls, as the wall is does not have sufficient strength or rigidity and the boards or wall could be damaged.  We suggest using our shadow board magnets for mounting boards on this wall type.

What is included:
– Stainless hinge – bottom half should have washer on the shaft of the hinge.
– 2 x M14x50 s/s CSK screws per hinge (to secure hinge to wall).
– 2 x plastic hinge packers per hinge, 9mm (to go between hinge and wall).
– 1 x slam-latch assembly.
– 2 x plastic latch packers per hinge, 13.6mm (to go between latch and wall).
– 2 x M12x50 s/s pan head cap screws (to secure latch to wall).

What tools/components are required:
– Drill or screw driver (Phillips) to mount screws, drill bits if required (depends on substrate as to whether you need to pre-drill holes first and whether you require wall anchors etc).
– 5mm hex key.
– Fine tip marker or pencil.

1. Position hinge on the underside of the board and hand tighten the bolts. Then use Allen key and spanner to tighten until laminate JUST starts to wrinkle.

2. Next, position the board where it is destined to go, ensuring you have adequate solid fixing to mount the hinges and latch to. Use a level to mark the top and bottom of where the board will sit against the wall.

3. With someone holding the board in the desired position (or held securely by some other means), slide one of the loose hinges with the shaft facing up and washer in place into the top hinge on the board. Using the marker or pencil, make a mark on the wall in each of the holes of the hinge. Repeat this with the lower hinge/s.

4. Depending on the substrate, pre-drill a hole in the locations marked for the M14x50 s/s CSK screws.

5. Fit the screw through the hinge holes and also through a 9mm packer sitting behind the hinge and into the hole you have drilled.

6. Once the hinges have been mounted to your satisfaction, position the slam latch horizontally so that the latch overlaps the board by 4-5mm. Using the marker or pencil, make a mark on the wall in each of the holes of the latch.

7. Depending on the substrate, pre-drill a hole in the locations marked for the latch.

8. Fit the M12x50 s/s pan head cap screws through the latch holes and also through a 13.6mm packer sitting behind the latch and into the holes you have drilled.

9. Test the latch by pulling it back to release the board and then try securing the board again behind the latch.

10. Position buffers on the back of the board opposite the hinges. Put firm pressure on the buffer for at least 20 seconds.

Instructions for trolley assembly

1. With board/frame laying on a pallet, lift with a forklift to about waist height so you can fit the wheel assemblies.

2. At the base of the frame on each end is a rectangular hole that the leg of the wheel assembly is inserted into.

3. Insert one wheel assembly into each side of the frame.

4. Push assembly right in so the base of the frame is sitting on the top of the wheel frame.

5. Once both wheel assemblies are in place, get one person on each side to carefully lift the frame into an upright position. Note that the wheel assemblies are not secured so hold them in place until the trolley is sitting upright.

Still need help? Contact us here